Product Support
IMPORTANT NOTE: The older Gen1 and Gen2 controllers are no longer supported.
We strongly recommend you purchase a Gen3 or Gen4 controller.
Updating your Gen3 Device Firmware:
Follow the instructions in the video
All Gen3 devices use the same general procedure, the only difference is the button required to enter the boot loader mode.
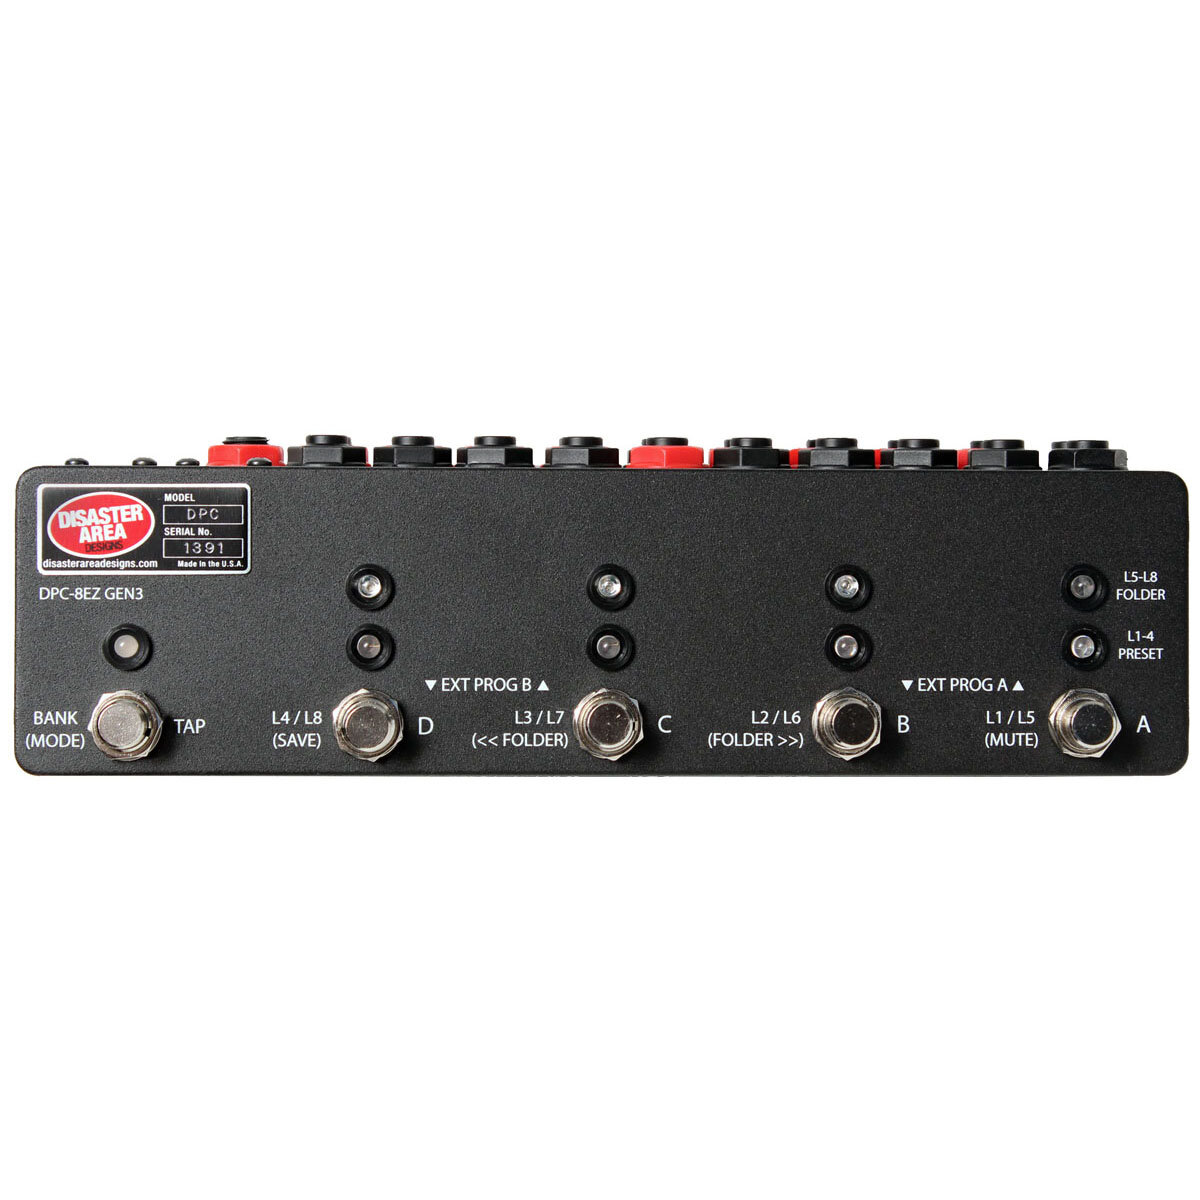
DMC-3XL, DMC-4, DPC-8EZ: MODE button
DMC-6, DMC-8, DPC-5: SAVE button
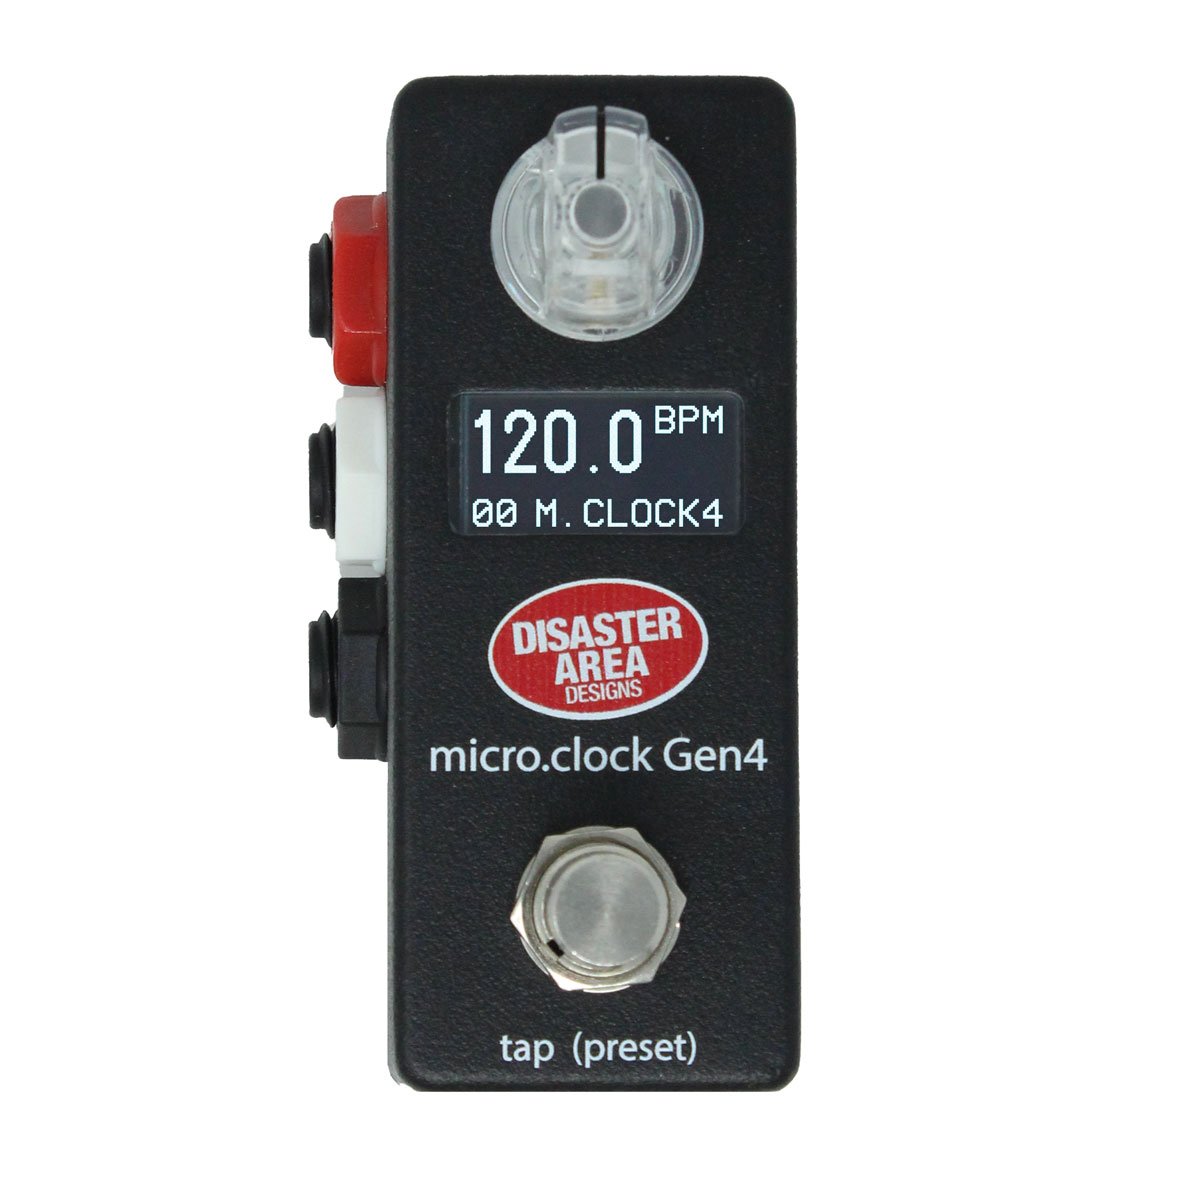
MIDI Baby, micro.clock, DPC.micro NS: Button (there’s only one!)
MIDI Baby 3: Center button
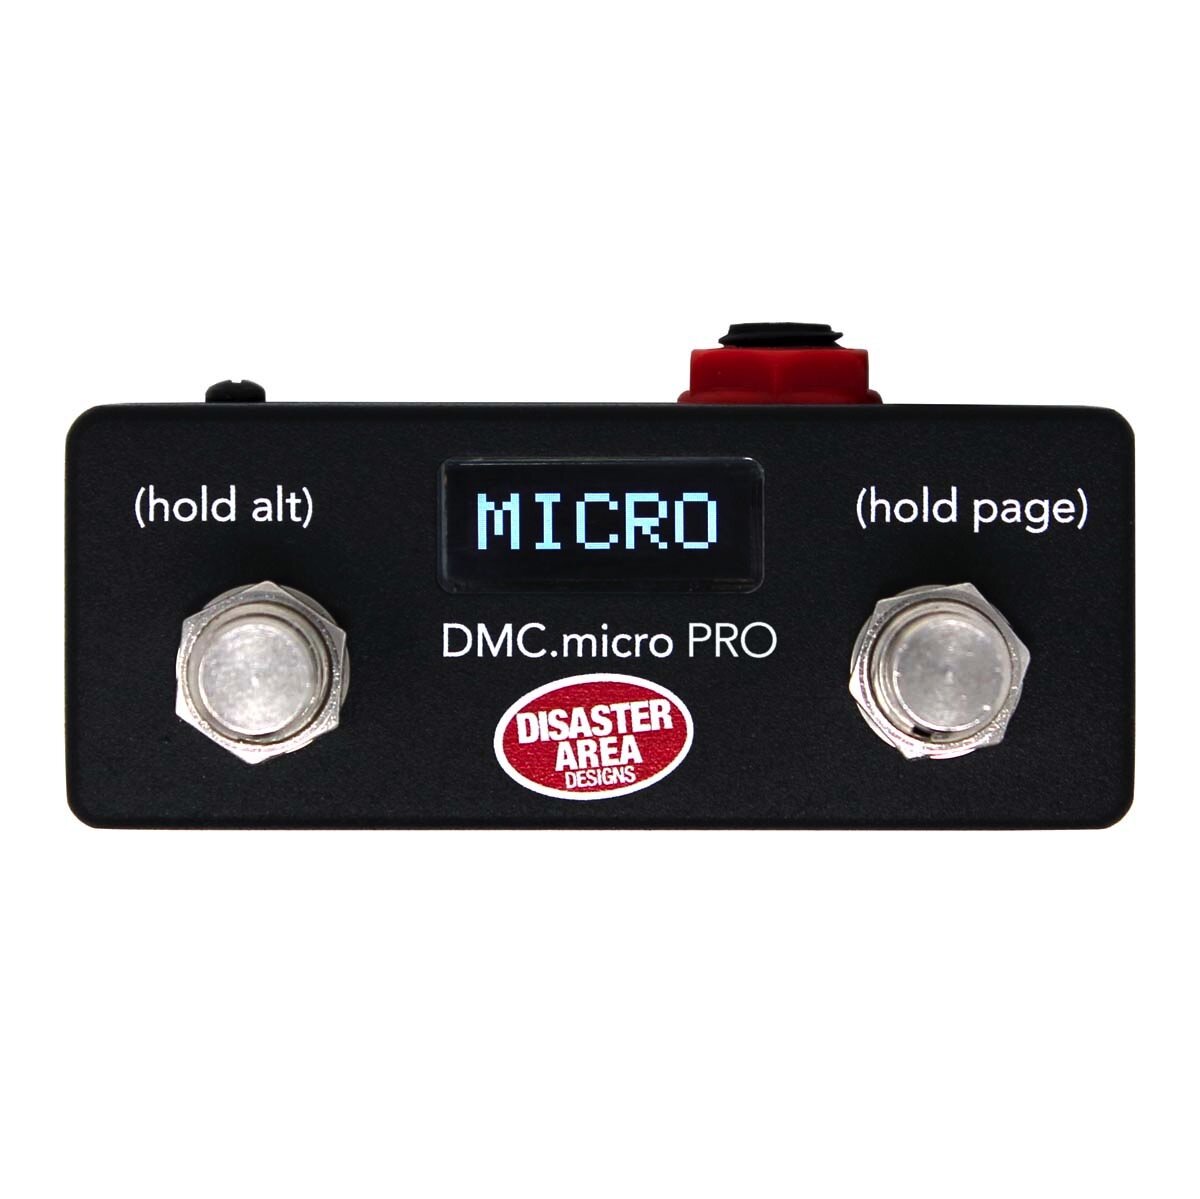
DMC.micro Pro, DMC.micro Classic, DPC.micro: Left button
qCONNECT: Left button
micro.ghost: Flip the BOOT DIP switch to BOOT
Mac firmware updater app: Disaster G3 Updater v1.1
Updating your Gen4 Device Firmware:
Unplug all cables including power and USB from your Gen4 device.
Connect a suitable USB cable to your computer, such as a USB-A to USB-C or USB-C to USB-C cable.
Hold the bootloader entry button on your device and insert the USB-C end of the cable into the USB-C port on your device. Use the port labeled “MIDI” for MIDI Baby Gen4.
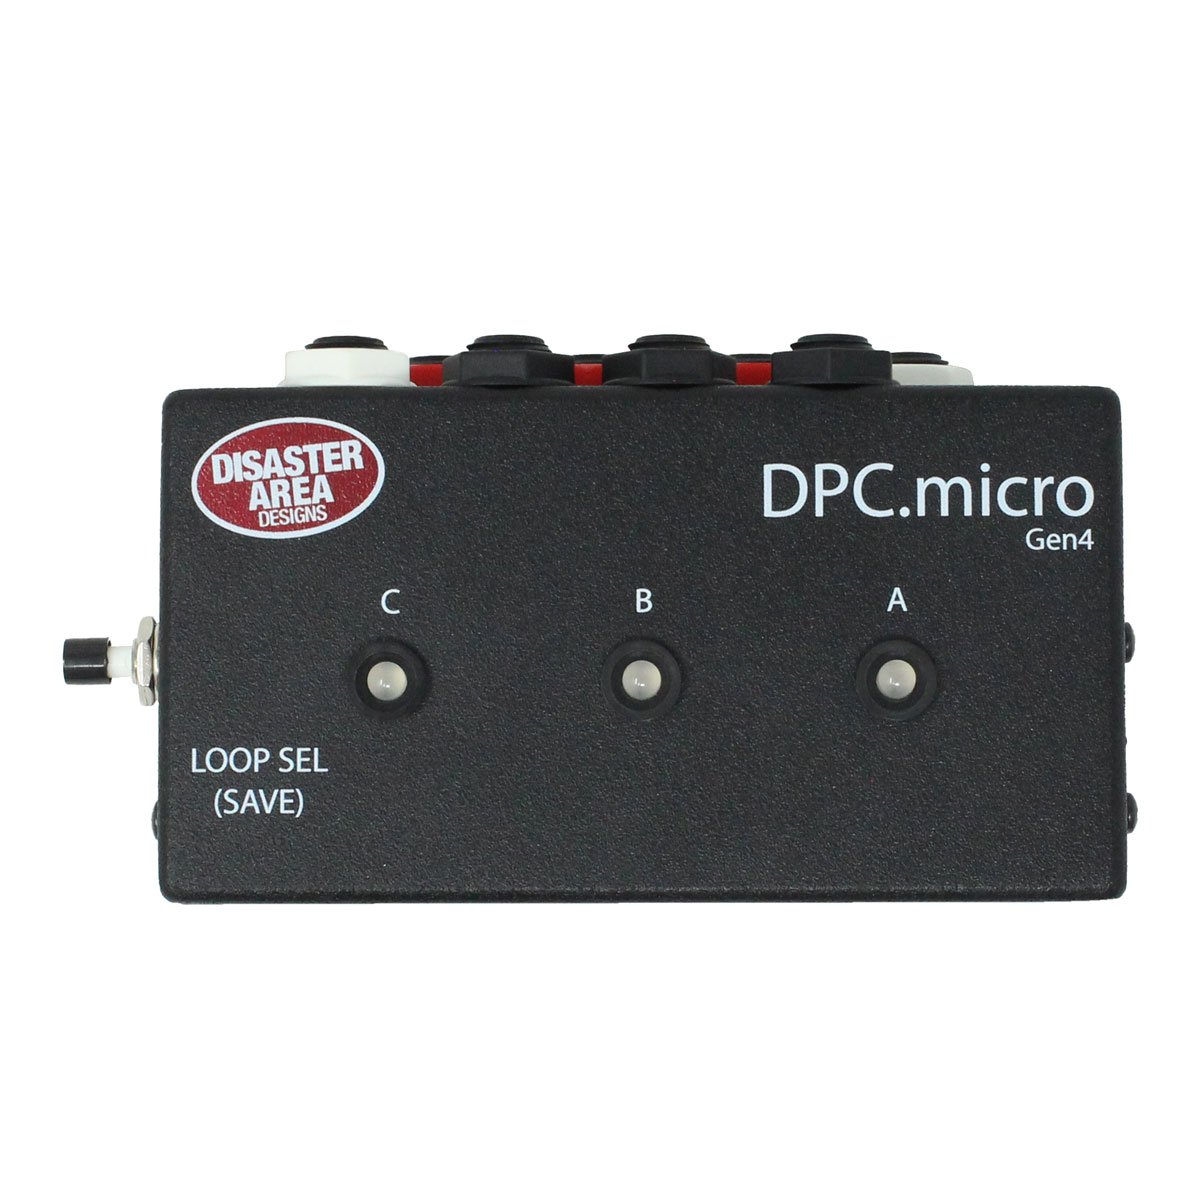
DMC.micro, DPC.micro: Left button
DPC.micro NS, MIDI Baby, micro.Clock, MIDI Baby 3: Center or only button.
The unit will display either a white LED (Baby / DPC.micro) or “UPDATE MODE” on the display
A new removable drive labeled “RPI-RP2” will appear on your computer
Drag the firmware .UF2 file into the drive, the controller will reboot after the update is complete.
MIDI Baby or MIDI Baby 3 Not Connecting?
If your MIDI Baby / 3 MIDI ports appear quickly then disappear in the editor window, your Baby might be set to work as a USB Host rather than USB MIDI.
Plug in the USB port, then wait until the LED starts flashing.
Hold the footswitch down, you’ll see the LED blink white once. For the MIDI Baby 3, hold the center footswitch down.
The Baby will now be in USB MIDI mode for editing, and will revert back to USB Host mode on next boot unless you change it.
Controller not booting? Display stuck on “P” after making setup changes? Need to Factory Reset?
If you need to reset your controller, to start fresh or to fix a configuration problem, the process is simple.
DMC.micro and qCONNECT:
Power on, wait for the display to scroll, hold both buttons.
Wait for the countdown to complete, then power cycle.
SMARTClock Gen3 and micro.clock:
Power on, enter Setup, turn knob left to FACT
Tap the knob, then turn the knob to ALL
Hold the knob to reset
Wait for the countdown to finish, then power cycle
DPC-8EZ Gen3:
Power on, wait 1 second, then hold A and BANK buttons
Wait for LED test to complete, then power cycle
All other Gen3 devices with a display:
Enter Setup, then tap left to FACT
Hold the menu entry button (usually SAVE or MODE)
The display MAY blank, don't panic!
Tap left until you see ALL, then hold the menu entry button
Wait for the countdown to finish, then power cycle
Display stuck on “E” after making setup changes?
This is usually caused by the MultiJack DIP switches not matching the software configuration. Either set the DIP switches to ON-ON-ON or configure JACK = MIDI in the setup menu.
User Manuals and Firmware

DMC.micro Gen4 (see below for Gen3)
Firmware v2.20a (ToneX ONE, USB Hub, UAFX)
DMC.micro Editor (BETA, requires Chrome)
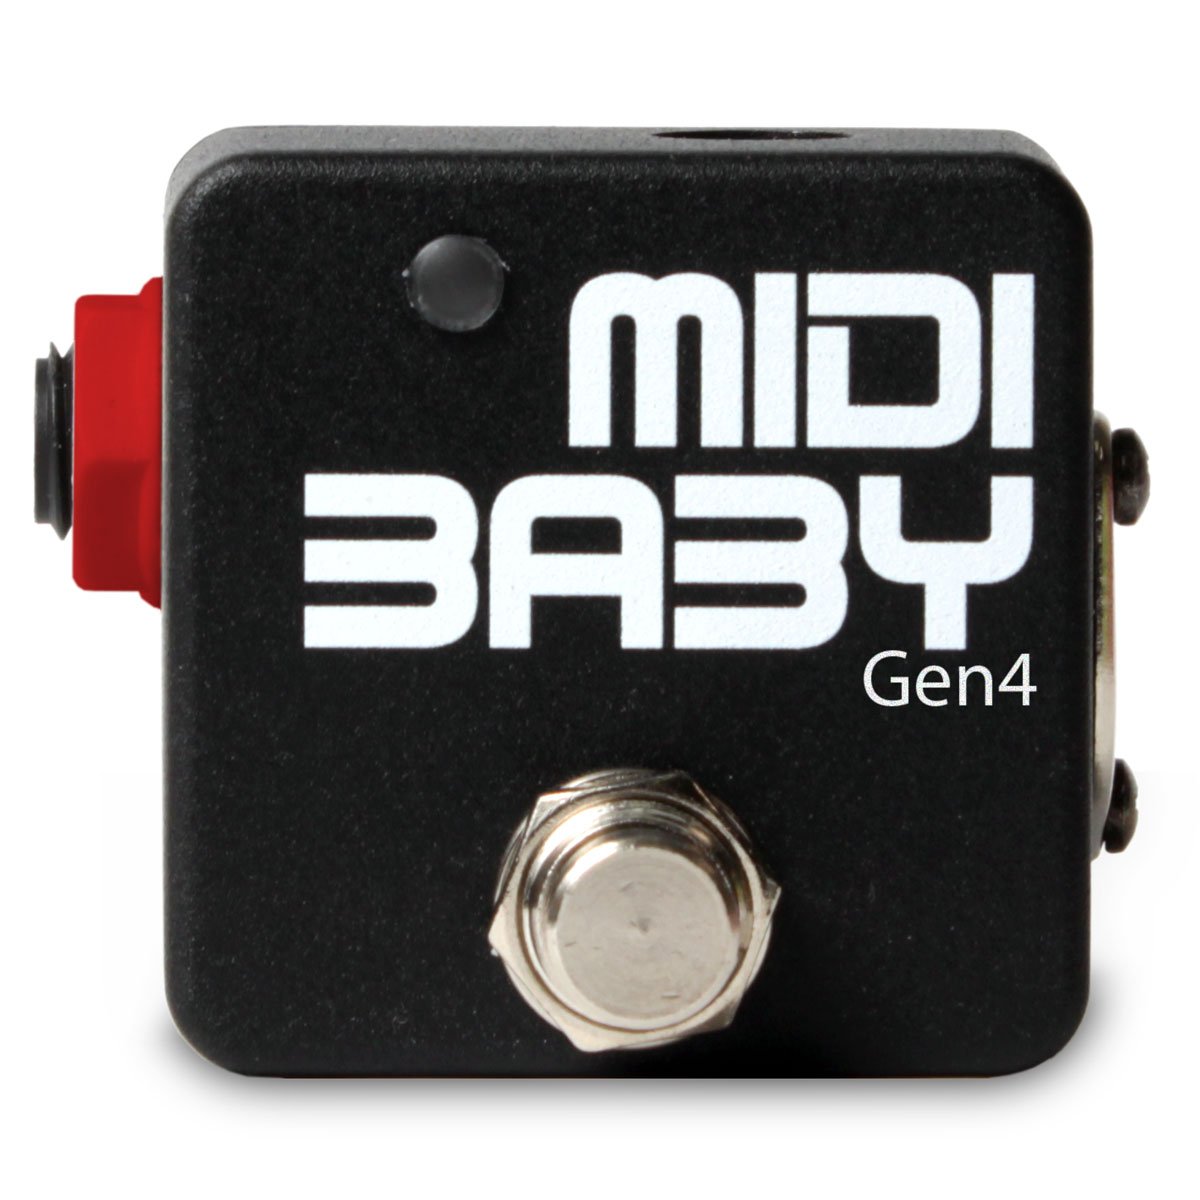
MIDI Baby Gen4 (2 USB Ports)
Firmware v34 (USB Hub, ToneX ONE, UAFX support)
Factory Reset (use editor)


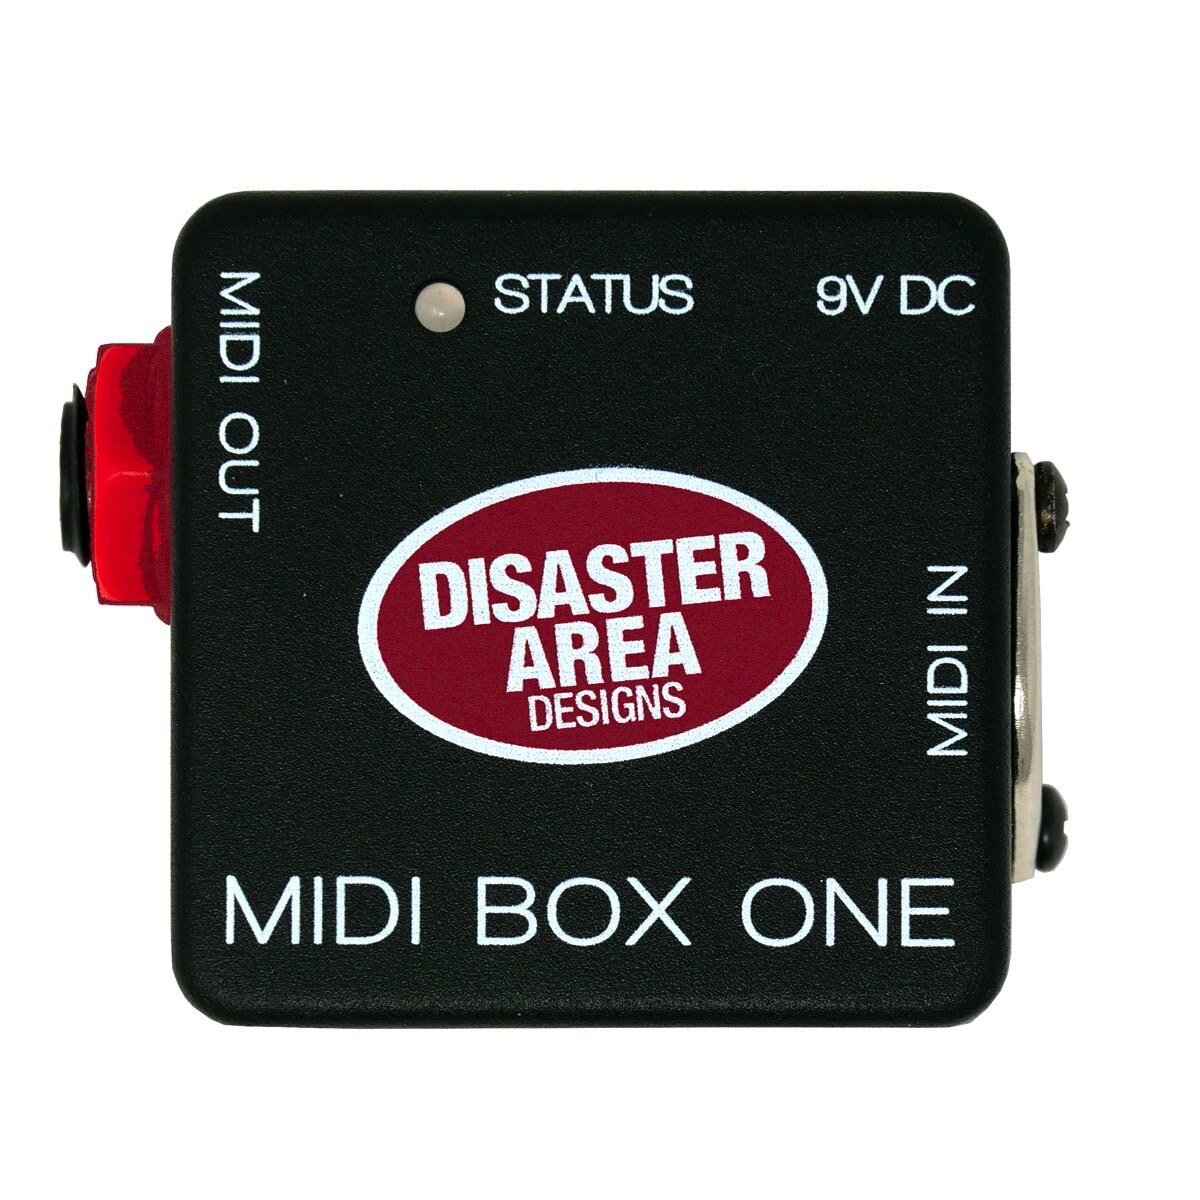
MIDI Box One

Legacy Products (Gen3)

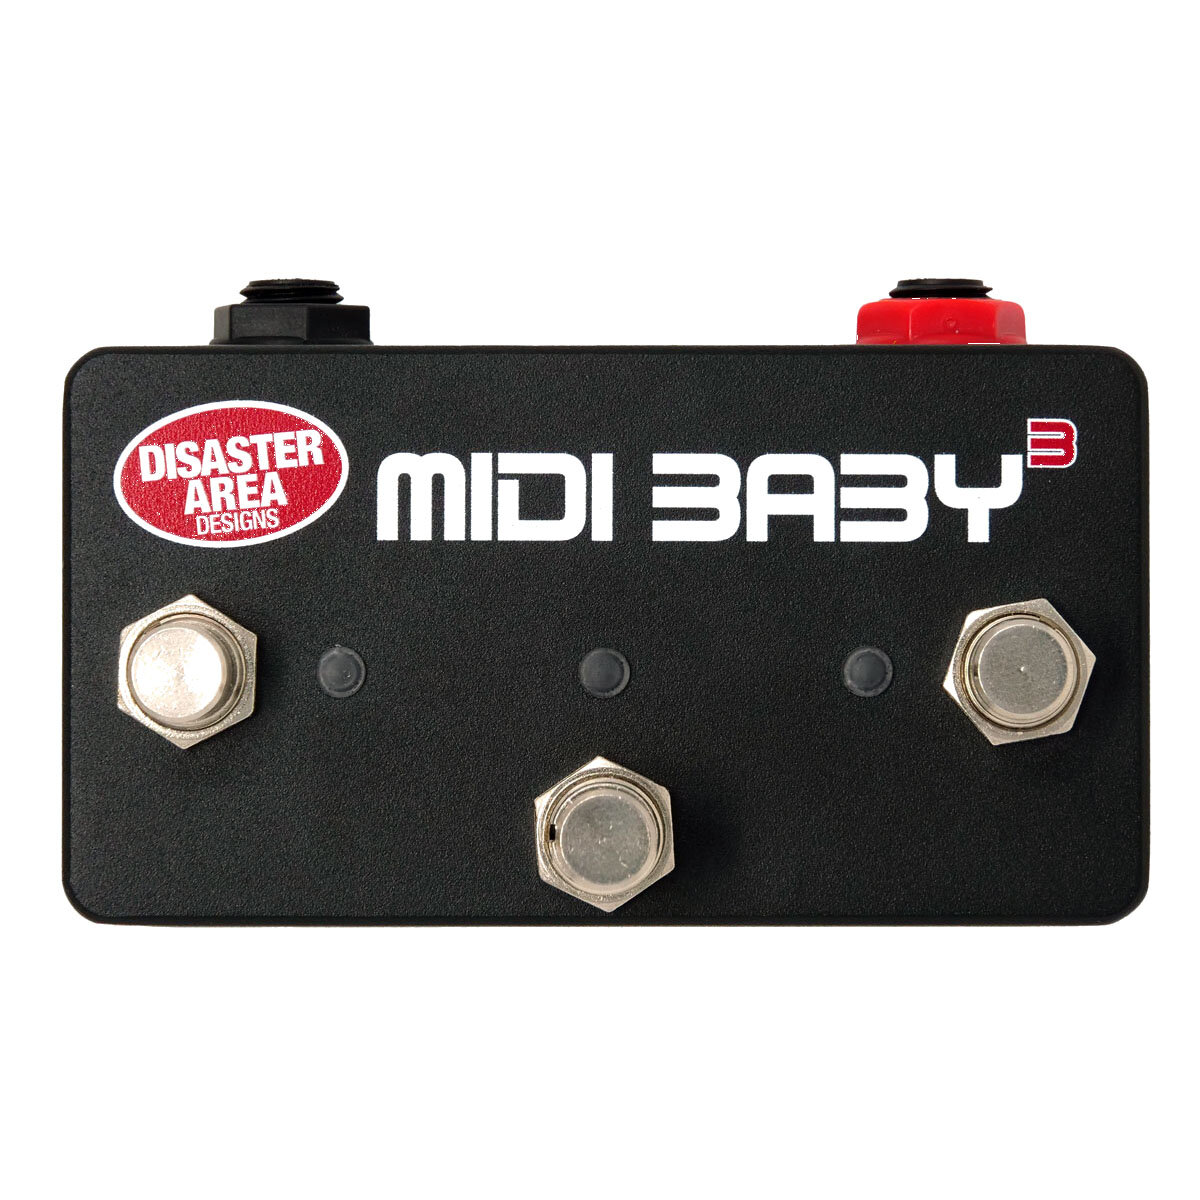
MIDI Baby 3 (Gen3, 1 USB port)
Firmware v17 (fixes MIDI thru isue)
Factory Reset - hold L and R buttons at boot

MIDI Baby 3 Gen4 (2 USB Ports)
Firmware v18 (USB Hub, ToneX ONE, UAFX support)
Factory Reset - hold L and R buttons at boot


DMC.micro LED4 Version
DMC.micro Editor (BETA, req. v2.x & Chrome)


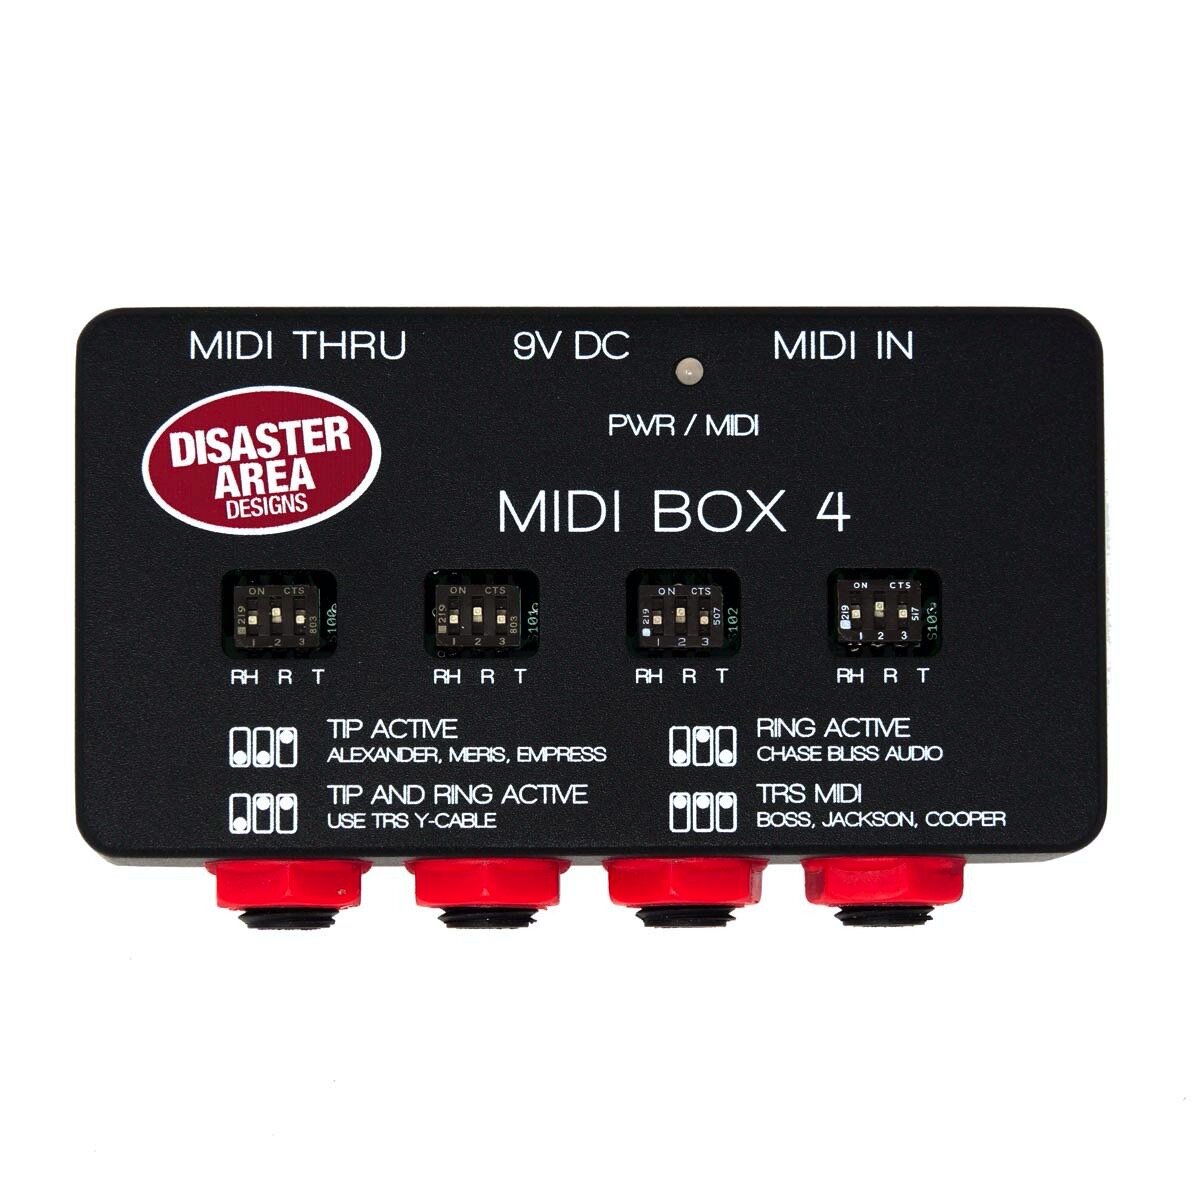
MIDI Box 4


Policies
WARRANTY POLICY:
We warrant our products for one year starting from the date of purchase. This warranty is fully transferrable and follows the product, not the owner. The warranty covers defects in workmanship or materials, and does not cover misuse (intentional or otherwise) or other damage, acts of God, etc. Disaster Area Designs will provide return shipping for warranty repairs at no charge, shipments to Disaster Area Designs are the responsibility of the customer.
RETURN POLICY:
We will accept returns within 7 days of customer receipt, for products purchased directly from this website. Products must be in like-new condition with no chips, scratches, or hook-and-loop fastener or residue. A restocking fee of 20% applies to all returns. Apparel is not returnable.
Products purchased from our dealers are not eligible for returns through Disaster Area Designs, please contact your dealer to arrange a return.
INTERNATIONAL SHIPPING POLICY:
We ship all over the world via a variety of carriers including USPS and DHL. We will not declare packages at a lower value, and all customs and duties are the responsibility of the importer / customer. Please check with your local Customs or tax agency to determine what taxes and fees you may have to pay. All of our shipments are classified “DDU".
Discontinued Products
Firmware and manuals for older Gen1 and Gen2 products. Please note that we are no longer able to offer support for these devices, and that the updater applications may not work with modern operating systems.
Firmware Updaters - Mac and Windows versions. Mac version requires High Sierra or earlier, not compatible with 64-bit only operating systems. We strongly recommend using Windows for Gen1 / Gen2 updates at this time.
Updater Package
DMC-2 Gen1
User Manual
Firmware Package (contains Line6, Strymon, Eventide versions)
DMC-2 Gen2
User Manual
Firmware Package (contains Strymon, Eventide, and BigSky specific versions)
DMC-3 Gen1
User Manual
DMC-3XL / DMC-4 Gen1
User Manual
DMC-3XL / DMC-4 Gen2 (3 or 4 buttons, LED display)
User Manual
Firmware v2.03
DMC-6 / DMC-7 / DMC-8 Gen1 (no display)
User Manual
DMC-6D Gen2 (6 buttons, LED display)
User Manual - Universal Firmware
User Manual - Ableton Firmware
Firmware and Updater Package (contains both Ableton and Universal versions)
DMC-8D Gen2 (8 buttons, LED display)
User Manual - Universal Firmware
User Manual - Ableton Firmware
Firmware and Updater Package (contains both Ableton and Universal versions)
DPC-5 Gen1 (6 buttons, large USB port)
User Manual
DPC-5 Gen2 (6 buttons, small USB port)
User Manual
DPC-8EZ Gen2
User Manual
Firmware v1.05b
SMARTClock Gen2
User Manual
SMARTLoop Gen1
User Manual
SMARTSwitch Gen2
User Manual
TNT Triple Tap & Toggle
User Manual
Disaster Area RMA Form - please include this with any return shipments to us.